
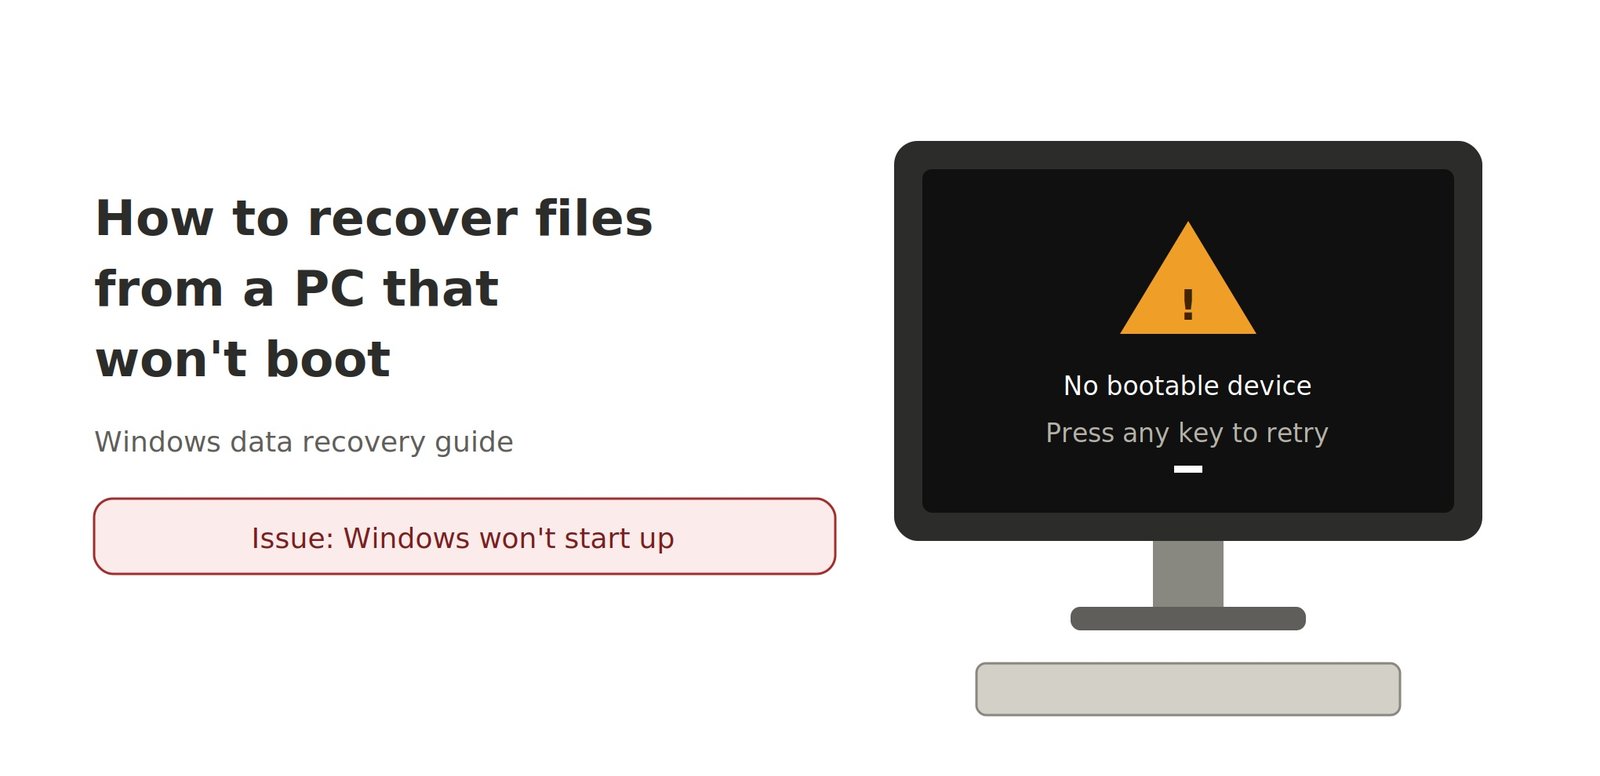

You press the power button and instead of the familiar Windows login screen, you get a black screen, a blue screen, an endless restart loop, or a message saying no bootable device was found. Then the real worry sets in: what about all the files on that computer? The work documents, the family photos, the financial records.
Here is the reassuring part. A PC that will not boot is not the same as a PC that has lost its data. In most cases, your files are still sitting safely on the hard drive or SSD; it is only the route into Windows that is broken. With the right approach, you can reach that data and copy it out.
In this guide, you will learn four practical ways to recover files from an unbootable PC: one software-based method using Stellar Data Recovery Free, and three manual methods that need no paid tools. Whether you need a quick fix or a reliable free data recovery software solution, you will find the right option below.
[Image suggestion: Hero image of a laptop showing a black screen or ‘Boot device not found’ error]
Why Does a PC Fail to Boot?
Understanding the cause helps you pick the right recovery method. The most common reasons include:
- Corrupted system files caused by a sudden shutdown, power cut, or a failed Windows update.
- Damaged boot configuration or MBR/GPT, which stops Windows from locating the operating system.
- Faulty drivers or software, especially after installing new hardware or programs.
- Malware or virus infection that damages critical system components.
- Failing hardware, such as a bad sector-ridden hard drive, loose cables, or faulty RAM.
Important: If your PC makes clicking, grinding, or beeping noises from the drive, power it off immediately. This points to physical damage, and continued use can make things worse. In that case, skip the DIY methods and consult a professional data recovery service.
Before You Begin: Quick Checklist
- Do not reinstall or reset Windows yet. A reset or clean install can overwrite the data you are trying to save.
- Check the basics: unplug external devices, reseat power and drive cables on a desktop, and try a different power outlet.
- Keep an external hard drive or a large USB drive ready to store recovered files. You cannot save files back onto the failing drive.
- If your drive is encrypted with BitLocker, locate your recovery key (usually saved to your Microsoft account) before you start.
- Pick the method that suits your comfort level using the comparison table below.
Quick Comparison: Which Method Should You Choose?
| Method | Best for | What you need | Difficulty |
| Stellar Data Recovery Free (drive connected to a working PC) | Deleted, corrupted or inaccessible files; heavy OS damage | Second PC, SATA/USB adapter or enclosure | Easy |
| Safe Mode / Startup Repair | Software glitches, bad updates, driver issues | Windows Recovery Environment access | Easy–Medium |
| Recovery Command Prompt (robocopy) | PCs that cannot reach the desktop at all | External drive; basic commands | Medium |
| Linux Live USB | Corrupted Windows, boot loops, no Windows media | 8 GB+ USB drive, second PC, external drive | Medium |
Software Method: Use Stellar Data Recovery Free
When Windows will not start, the most dependable route is to take the drive out of the equation: connect it to a healthy computer and scan it with recovery software. A good free data recovery software reads the drive directly, so it does not matter that the operating system on it is broken.
Stellar Data Recovery Free is a beginner-friendly option for this job. It can recover documents, photos, videos, audio files, and emails from internal drives, external drives, and USB devices, even when the files are lost, deleted, or the partition is damaged. The free edition lets you recover a limited amount of data at no cost (up to 1 GB at the time of writing; please verify the current limit on the official website), which is often enough for your most important documents and photos.
Good to know: Stellar’s paid editions also offer a bootable recovery media option that lets you recover data without removing the drive. The steps below use the free edition with the drive connected to a second working PC, which works with the free version.
What You Will Need
- A second, working Windows PC or laptop
- A SATA-to-USB adapter or an external drive enclosure (or a free SATA/M.2 slot on a desktop, depending on your drive type)
- An external drive or other storage with enough free space to save recovered files
- A small screwdriver to remove the drive from your PC
Step-by-Step: Recover Files with Stellar Data Recovery Free
- Remove the drive safely. Shut down the non-booting PC and unplug it. Open the case or the laptop’s drive bay and carefully remove the hard drive or SSD. Refer to your device manual if you are unsure.
- Connect it to the working PC. Place the drive in a USB adapter or enclosure and plug it into the second computer. It should appear as an external drive. Do not format it if Windows prompts you to.
- Install Stellar Data Recovery Free. Download it from the official Stellar website and install it on the working PC’s drive, not on the problem drive.
- Select what to recover. Launch the program, choose the file types you need (or leave Everything selected), and click Next.
- Choose the location. Under Connected Drives, select the drive taken from your non-booting PC. Click Scan.
- Run a Quick Scan, then a Deep Scan if needed. If your files are not found, enable Deep Scan for a more thorough search. It takes longer but digs much deeper.
- Preview your files. Browse the results by folder tree or file type and preview documents and photos to confirm they are intact.
- Recover and save. Tick the files you want, click Recover, and save them to your external drive or the working PC’s storage, never back onto the problem drive.
Pro Tip: Once your data is safe, you can reinstall Windows or repair the drive without any pressure. If you need to recover more than the free limit allows, upgrade within the same software and continue without starting over.
Manual Methods to Recover Files from an Unbootable PC
If you prefer not to install any software, or you want to try built-in options first, these three manual methods can help you reach your files. They need a bit more patience, but they cost nothing.
Method 1: Use Safe Mode or Startup Repair
If the boot problem is caused by a faulty driver, update, or software conflict, Safe Mode can get you back into Windows with only essential services running. From there, you can copy your files to an external drive like normal.
Steps to Enter the Windows Recovery Environment
- Turn on the PC and, as soon as the Windows logo appears, hold the power button to force a shutdown. Repeat this two more times.
- On the third restart, Windows should load the Automatic Repair screen. Click Advanced options.
- If this does not work, boot from a Windows installation USB, choose your language, and click Repair your computer.
Steps to Start Safe Mode and Copy Files
- Go to Troubleshoot, then Advanced options, then Startup Settings, and click Restart.
- Press 4 or F4 to start Safe Mode (press 5 or F5 for Safe Mode with Networking).
- Once on the desktop, connect an external drive and copy your important folders (Documents, Desktop, Pictures, and so on) to it.
- Alternatively, in the recovery menu, try Startup Repair first. If it fixes the boot issue, your PC will start normally.
Limitation: This method only works if Windows can still load in a limited form. If even Safe Mode fails, move to Method 2.
Method 2: Copy Files Using the Recovery Command Prompt
When Windows cannot reach the desktop at all, the Command Prompt inside the Windows Recovery Environment lets you access the drive and copy files manually. It is less friendly than a visual tool, but it is powerful and built into Windows.
Steps
- Enter the Windows Recovery Environment (see Method 1), then select Troubleshoot, then Advanced options, then Command Prompt.
- Find the correct drive letter. In recovery mode, your Windows drive is often D: rather than C:. Type the command below, press Enter, and look at the list of volumes to identify your drive by size and label:
diskpart
list volume
exit
- Connect your external drive and use list volume again to note its letter (for example, E:).
- Copy your files with robocopy. For example, to copy a user’s Documents folder to the external drive:
robocopy D:\Users\YourName\Documents E:\Backup\Documents /E /R:1 /W:1
- Repeat for other folders such as Desktop and Pictures. Wait for each copy to finish, then check the external drive to confirm the files are there.
What do the switches mean? /E copies all subfolders, including empty ones; /R:1 retries a failed file once; /W:1 waits one second between retries, so the process does not stall on damaged files.
Limitation: A typing mistake or wrong drive letter can cause errors, and the process is not ideal for non-technical users. Always double-check the source and destination before pressing Enter.
Method 3: Boot from a Linux Live USB
A Linux live USB lets you run a full operating system from a USB drive without touching your internal drive. Once it loads, you can browse your Windows files with a normal file manager and copy them out. Ubuntu is a popular, beginner-friendly choice.
Steps
- On a working PC, download the Ubuntu ISO from the official website and a tool such as Rufus or balenaEtcher.
- Insert an 8 GB or larger USB drive, then use the tool to write the Ubuntu ISO to it. This will erase the USB drive, so back up anything on it first.
- Plug the bootable USB into the non-booting PC and turn it on. Press the boot menu key (commonly F12, F10, F2, Esc, or Del, depending on the brand) and select the USB drive.
- When Ubuntu starts, choose Try Ubuntu (do not choose Install).
- Open the Files app. Your Windows drive appears in the left sidebar. Click it to mount and browse it.
- Plug in an external drive, then drag and drop your important files onto it. Wait for the copy to complete before shutting down.
Limitation: If your drive is protected with BitLocker, you will need your recovery key, and Linux may not be able to read it without extra steps. Some PCs also require Secure Boot to be adjusted in the BIOS.
How to Avoid This Problem in the Future
Boot failures often come without warning, so preparation is your best protection. A few habits make a big difference:
- Back up regularly. Use File History, Windows Backup, or an external drive to keep a current copy of your important files.
- Sync to the cloud. Services such as OneDrive, Google Drive, and Dropbox keep copies off your PC entirely.
- Follow the 3-2-1 rule: keep three copies of important data, on two types of storage, with one copy offsite.
- Create a recovery drive. Windows lets you make a recovery USB while the PC is healthy, which can save hours later.
- Keep reliable tools ready. Having a trusted free data recovery software downloaded on another device means you can act quickly in an emergency.
- Watch for warning signs like slow performance, frequent crashes, or unusual drive noises, and back up at the first sign of trouble.
Frequently Asked Questions
Can I recover files from a computer that won’t turn on or boot?
Yes, in most cases. If the drive itself is healthy, your files remain intact even when Windows fails to start. You can reach them by connecting the drive to another PC, using recovery mode, or booting from external media.
Is free data recovery software safe to use?
Reputable tools from established vendors are safe and scan your drive in a read-only mode, so they do not change your existing data. Always download from the official website and avoid cracked or unknown versions, which may carry malware.
Will resetting Windows delete my files?
It can. The Reset this PC option offers to keep your files, but problems can still occur, and a full reset or clean install may wipe data. Always back up or recover your files first.
What if my hard drive is physically damaged?
If the drive makes clicking or grinding noises, is not detected at all, or has been exposed to water or fire, stop using it and contact a professional data recovery lab. DIY methods can make physical damage worse.
Where should I save the recovered files?
Always save them to a different drive, such as an external hard drive or a healthy internal drive. Saving back to the problem drive can overwrite data and cause permanent loss.
Conclusion
A PC that will not boot can feel like a disaster, but your files are usually far safer than they seem. If Windows can still reach recovery mode, Safe Mode, the recovery Command Prompt, or a Linux live USB can get your data out at no cost. If those routes fail or feel too technical, a dependable free data recovery software such as Stellar Data Recovery Free, used with the drive connected to a second PC, gives you a simple, guided way to scan, preview, and restore your files.
Whichever path you choose, remember the essentials: stop and avoid reinstalling Windows, work from a healthy device or external media, and save recovered files to a separate drive. Get your data safe first, and fix the PC afterwards.
